Error 0x800700aa is a Microsoft Store (or, Windows Store) error code. But sometimes this error code may start due to corrupted system files or misconfigured system files or malware. Some of the messages that users encounter these errors are:
- “There was an unexpected error in the property page: The requested resource is in use. (0x800700AA). Please close the property page and try again.”
- “Something happened this app couldn’t be installed. Please try again later.” Error Code 0x800700AA.
As I mentioned above, this error 0x800700aa can occur due to several reasons, that I have compiled and listed below:
- Corrupt or missing system file
- Poor Internet connection
- Malware infection
- Corrupt Microsoft Store cache.
Even though error 0x8007000AA is common, there are several ways to fix it. Let us look at some of the methods to resolve this error:
Quick Overivew
How to Fix Error 0x800700aa ?
Reset Microsoft Store
- Click on the start button and select the settings icon
- Click on Apps and select Apps & features on the left panel

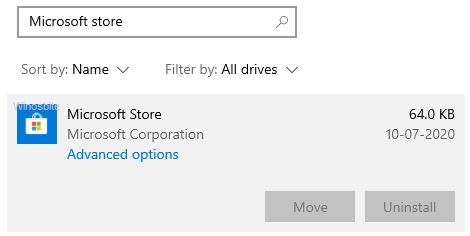
- Browse for Microsoft Store and click on it
- Select Advanced options
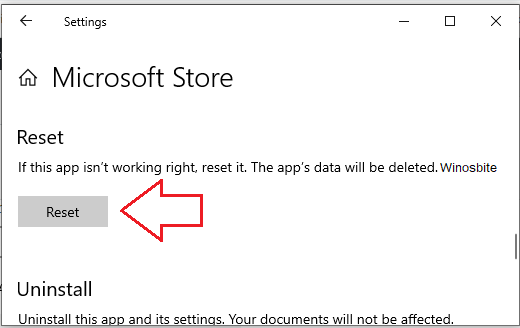
- In the new window, find and click on Reset
- Click on Reset in the new dialogue box and wait for some time

You will now be able to launch Microsoft Store.
Modify network adapter settings
- Click on the start menu and type cpl.
- Select-control panel and open it
- Now, click on Network and Internet
- Select Network and Sharing Center
- Click on Change adapter settings on the left panel
- Right-click on your Network adapter and choose Properties
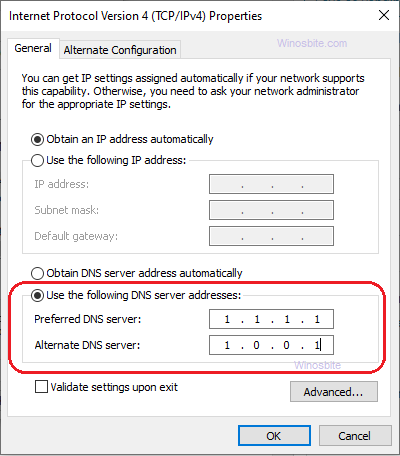
- Select Internet Protocol Version 4 (TCP/IPv4) and click on Properties
- Now, select the Use the following DNS Server addresses
- Type 1.1.1.1 in Preferred DNS server and 1.0.0.1 in alternate DNS server and press OK
- Close the window.
Method III: Use PowerShell
- Press Windows + X keys together
- Select Windows PowerShell (Admin) from the list that pops up
- Click on Yes when prompted by the User Account Control dialogue box
- Type or paste the following command and press the Enter key after:
- Get-AppXPackage -AllUsers -Name Microsoft.WindowsStore | Foreach {Add-AppxPackage -DisableDevelopmentMode -Register “$($_.InstallLocation)\AppXManifest.xml” -Verbose}
- Now, paste the following commands one by one and press the enter key after each:
- Get-AppXPackage | Foreach {Add-AppxPackage -DisableDevelopmentMode -Register “$($_.InstallLocation)\AppXManifest.xml”}
- PowerShell -ExecutionPolicy Unrestricted -Command “& {$manifest = (Get-AppxPackage Microsoft.WindowsStore).InstallLocation + ‘\AppxManifest.xml’ ; Add-AppxPackage -DisableDevelopmentMode -Register $manifest}”
- Type exit and press the enter key
- Restart your system.
Clean the Windows Update temporary cache folder and Update
1) Press Windows+R button
2) Type below text and hit Enter button
%windir%\SoftwareDistribution\DataStore
3) Now select all files and press Ctrl+Shift+Delete
Now the all temp files of the Windows Update folder is clean. Let’s now Update the Windows.
1) Press on Windows logo and type Check for updates
2) Click on it and choose Check for updates button
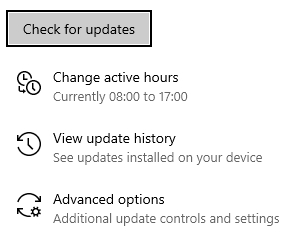
Let the system to download the latest update. Once done, then Restart your PC.
Reset this PC
This is one of the advanced options that can try if all of the above methods not worked out.
1) Click on Windows logo, type Reset this PC and click on it
2) Windows will open, click on Get started button

3) A new window will open, choose the first option Keep my files
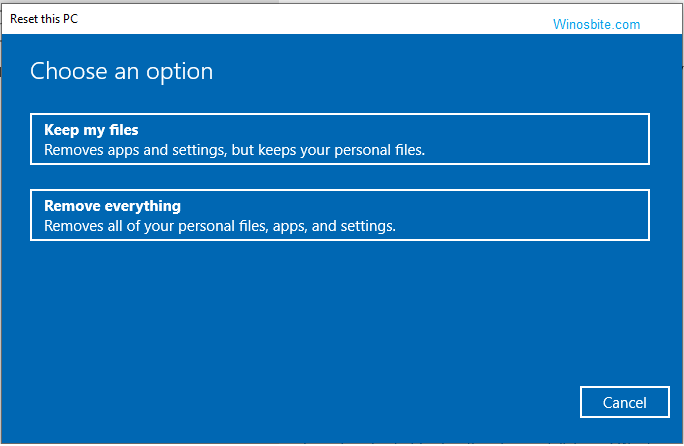
Let the Windows reset the system, it will take a few minutes and then the error will be fixed.