
This dxdiag.exe is an essential part of the Windows operating system which is basically the DirectX Diagnostic Tool. It’s a very useful tool that generates system information. Dxdiag program gathers information about the computer, and its hardware, drivers, and much more. Also, it saves this information in text form. You normally need to use it when you need technical support and want to provide appropriate information to the support personnel. This assists the person in answering queries a lot better.
DirectX was made specifically for multimedia on Microsoft. It was made for supporting Videos and gaming programs.
Dxdiag.exe Overview
- File Type: Exe Application
- Description: Microsoft DirectX Diagnostic Tool
- File Version: 6.1.7600
Quick Overivew
File Size and Location
This file normally takes 258 to 260 Kb.
The default location of dxdiag.exe is under the C:\Windows\System32 directory.
Quick Overview
| Filename: | Dxdiag.exe |
| File description: | Microsoft DirectX Diagnostic Tool |
| File version: | 6.1.7600.16385 |
| File Size: | 336 KB |
| Product name: | Microsoft® Windows® Operating System |
| File type: | Application |
| Copyright: | Microsoft Corporation |
| Language: | English |
| Location: | C:\Windows\System32 |
Uses of dxdiag.exe
It is used to:
- It’s a handy tool to troubleshoot video/display-related issues.
- This tool can also be used to fix sound-related problems.
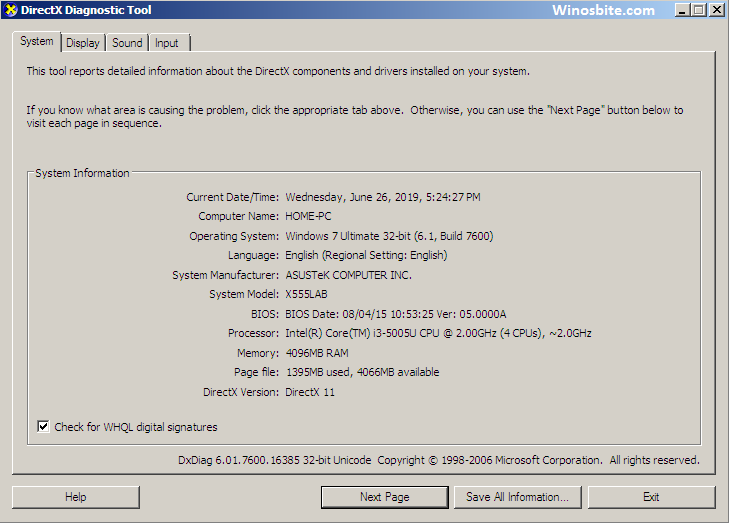
What does it display?
The system tab displays
- Present DirectX version
- Computer’s hostname
- Operating system version
- Information about BIOS
DirectX files tab shows:
- Versions of individual DirectX system files
- Differentiates between portable executables and dynamic-link libraries.
DxDiag display exhibits
- Display settings
- Video hardware
- In the case of more than one monitor attached to a single CPU, there are individual tabs for each monitor.
You can use this tab to disable:
- DirectDraw
- Direct3D
- AGP Texture Acceleration
In case, your display drivers pass Windows Hardware Quality Lab testing, the test results will be available on the right side of the Windows. This will further help the technicians to understand the problem a bit better and assist in solving the problem more thoroughly.
How to use DxDiag to obtain information on PC
To run DxDiag, follow the following steps
- Click on the Start button
- Type DxDiag in the search box
- Click on it
- It will open a Pop up saying that ‘Direct Diagnostic Tool – Do you want to check if your drivers are digitally signed?” Click on Yes.
- A blue bar showing the progress will be displayed on the left side at the bottom of the DxDiag window for few seconds.
- The moment this progress bar vanishes, it means your report is ready.
- Find ‘Save all information’ on the box and click on it.
- Now, click on exit.
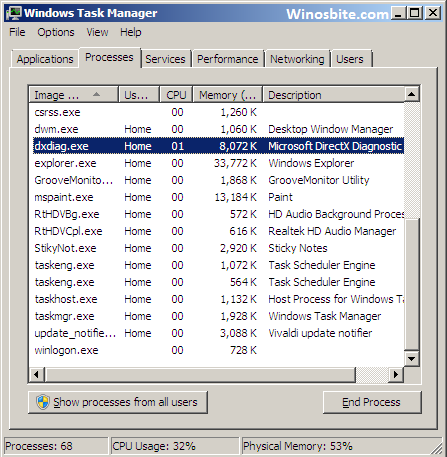
Is it CPU intensive?
No, this program is not considered CPU intensive at all. However, in some cases, dxdiag.exe might consider high CPU during executing the process.
Conclusion
DirectX Diagnostic tool is an important part of your system. If you find yourself in a situation where you do not know what information the technician will find useful, you can use this tool to clarify everything to the personnel. If you just need to keep the information for yourself as a record for one reason or the other, you can use this tool as well. It is an essential tool that our computer must-have.
Did you know: DirectX technology is used by Microsoft to make their gaming console XBOX and the X at the front is a homage to that.


