Many users have a complaint that their Wifi getting disconnecting frequently on Windows 10. This usually happens when you upgrade your Windows 10 system, and it shows a typical error message “WiFi keeps disconnecting or Dropping connection”.
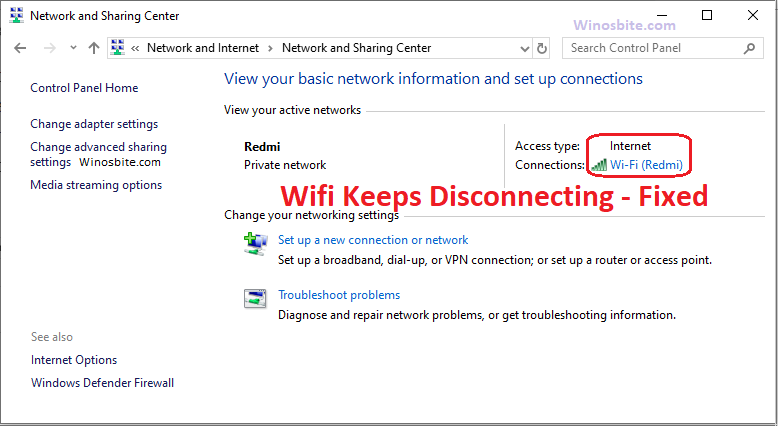
There are several reasons why this happens. However, the most common reason specific to Windows 10 is “Wi-Fi Sense”. It is a utility that automatically discovers and connects your Windows 10 to Wi-Fi hotspots or networks if the user is in the shared network vicinity. Therefore, it makes the Wi-Fi disconnect from one network and connects to another automatically.
How to Fix Keeps Disconnecting Frequently
Let us look at a few methods to resolve the Wi-Fi disconnection error on Windows 10:
Quick Overivew
Using AutoConfig
1) Click on the Start button, type Services and click on it
2) Locate WLAN AutoConfig and double click on it.
3) In WLAN Autoconfig Properties window, select “Automatic” in the “Startup type”
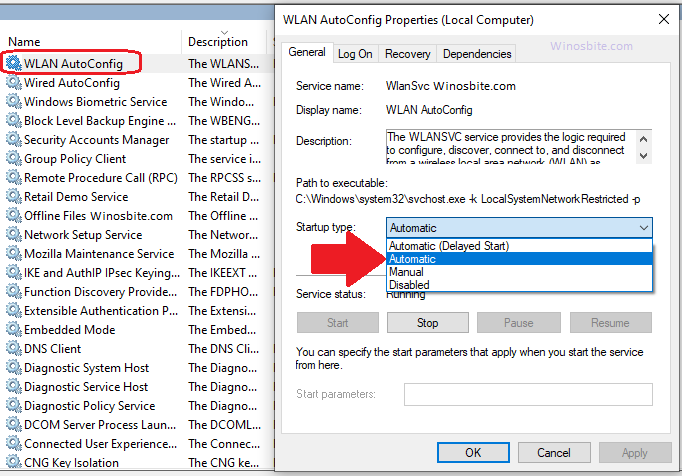
4) Click on Apply and restart the computer
By following above steps the Wifi will stop disconnecting frequently on your Windows system.
Using Power Management and options
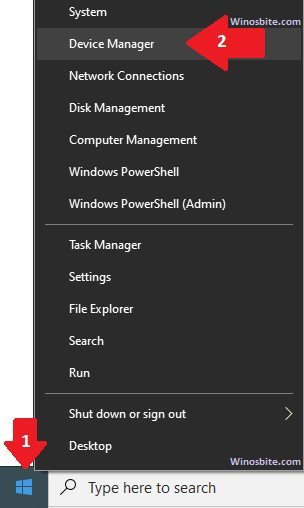
1) Press Windows + R keys, type devmgmt.msc and press Enter.
2) In Device Management window double click on Network Adapters.
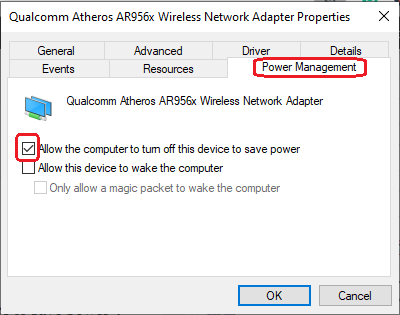
3) Right-click on your Wi-Fi/Wireless network adapter and select Properties.

4) Go to Power Management tab and uncheck the box “Allow the computer to turn off this device to save power“. Select “Apply” and then, “OK” and exit Device Manager.
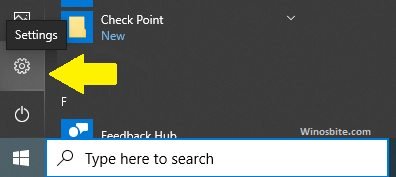
5) Now, click on the start menu on your screen and select “Settings” from the list
6) Click on “System” and select “Power & Sleep“.
7) In the right panel, go to “Additional power settings” under “Related settings” heading
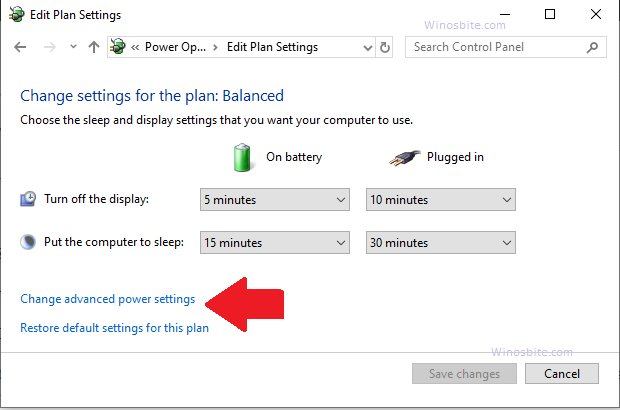
8) In Power Options window, click on “Change plan settings”
9) In the next window, click on “Change advanced power settings”
10) Now navigate to Wireless Adapter Settings > Power Saving Mode
11) Click on “On battery” and select “Maximum performance” from the drop-down. Do the same for “Plugged in”.
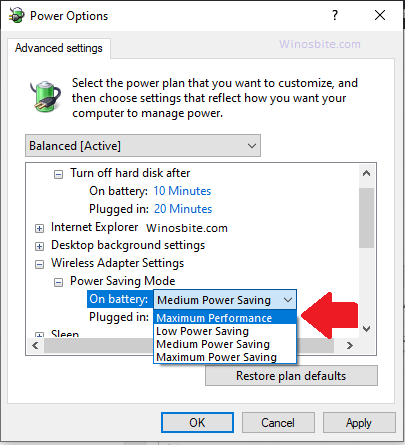
12) Select “Apply” and then “OK“. Restart your system.
Using Troubleshooter
If all the above method didn’t work, then try Windows Troublehooster to fix Wifi regular disconnecting problem on your Windows 10 OS:
1) Click on Start, type troubleshooting and click on it.
2) Click on “Network and Internet”
3) Select “Network Adapter” and again click on “Run the Troubleshooter”
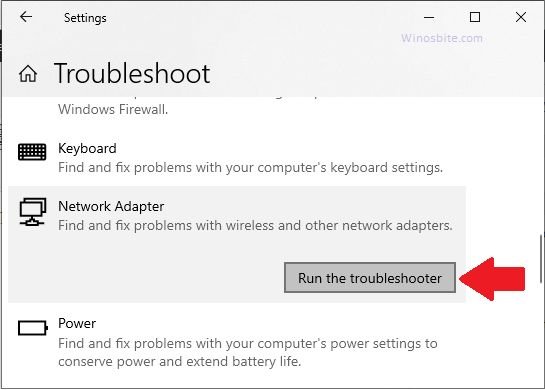
4) Choose “Wi-Fi” and click on “Next“.
Wait while the problem is identified and automatically fixed by the troubleshooter. Once completed, click on “Close” and re-connect to your Wi-Fi.
Change public to the private home network
1) Go to the system tray at the bottom right corner of your screen and click on the Wi-Fi icon.
2) Select the Wi-Fi you are connected to and click on Properties
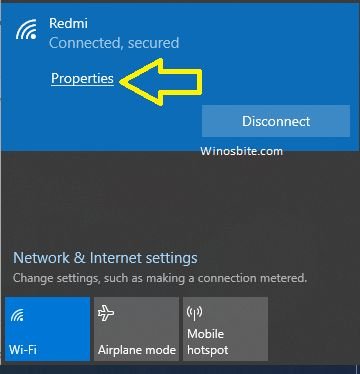
3) Enable the Radio button under “Connect automatically when in range”

Your Wi-Fi should stop disconnecting now.
Update network driver
1) Right-click on the Windows logo located at coroner’s bottom
2) Click on to the Device Manager
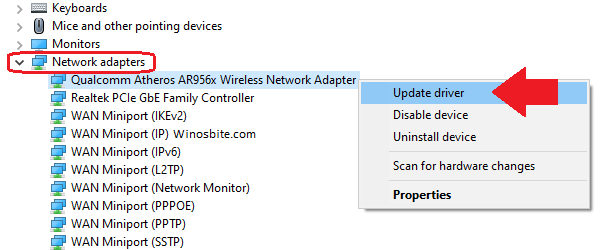
3) Now, expand Network adapters and right-click on the Wi-Fi driver you use.
4) Click on Update Driver Software
5) Select Search automatically for updated driver software. Windows will now search for and download the driver updates itself.
Restart your system. If the issue is not resolved, then go to the next step.
- Right-click on Wi-Fi driver and select Update driver software. But this time, make sure to select Browse my computer for driver software option.
- Select Let me pick from a list of device drivers on the computer
- Search for and select the latest driver version and click on Next.
Once, drivers are installed, close all windows and restart your computer.
Disable Wi-Fi Sense
1) Click on the Start menu and select Settings.
2) Go to Network & Internet
3)Select Wi-Fi on the left panel
4) Click on Manage Wi-Fi settings on the right panel and navigate to “Wi-Fi Sense”
5) Click on the toggle button to switch off all options under Wi-Fi Sense.
6) Also, Disable all options under Hotspot 2.0 networks and Paid Wi-Fi services.
7) Click on Apply and then, OK
Now, reconnect your Wi-Fi connection, this should stop disconnecting and let you work smoothly.